Monday, November 10, 2014

Annika's Sky Line


          In this image there is a floating mountain in the sky with a large planet in the background. There is also a few pegasi in the background. I also added a light blue title in the corner of it.

  
   I started by using the also tool to select the mountain in a different picture with the lasso tool. Then I clicked the refine edge button to well refine the edge and get a cleaner edge. After that I cut out the bottom part of the mountain and moved it down to make the mountain longer. Then I put it in the photo of the sky and to make it look like it was floating I did the same thing I did to get the mountain on its own layer to the cloud that was behind the mountain. I also added a shadow with the burn tool on the cloud. Then I added a few masks to make it all blend together. Finally I added the pegasi and planet to the background using the same techniques I used to make the rest of it, also the title in the corner.

   I learned how to use the lasso tool to select a cretin thing or part of a thing and put that on a new layer. I also learned that you can ask your neighbor for help. If I did this again I would redo the shadow for the mountain and the clouds around the planet. This is because It doesn't look very good and the clouds around the planet are only on the edge.

         I will use the skills I learned while making this floating mountain like the refine edge tool or  lasso tool and put that into future work that I do. And overall making this was pretty easy and fun to do. I feel that I learned something very useful and I will probably use it a lot to get clean extractions.


I learned how to make it look like the mountain was behind the cloud in front by selecting the cloud with the lasso tool and hitting the refine edge tool. I also used this on the cloud in the back to the left so it was in front of the planet.

Friday, November 7, 2014

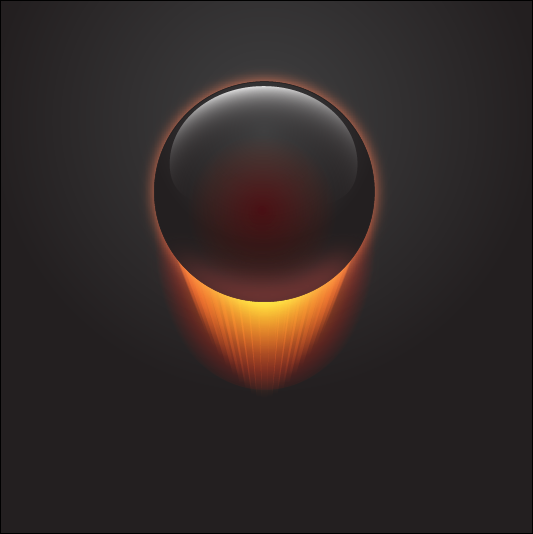
Creative Spheres

http://design.tutsplus.com/articles/how-to-create-an-ultra-glossy-flaming-ball-in-adobe-illustrator--vector-6024

Spheres symbolizes nature and have a global or earthy feel to them. They also can symbolize controlled chaos but at the same time they can represent unity, perfection, wholeness, and completion. Which is cool and unique that it can represent two opposites.

As for my work process I start by scetching an ideas that come to my mind then narrow down the options to a few spheres. After that I go in to the program, Ps or Ai, and start bringing my scetches to life. While doing this I start experimenting a little by chafing around the colors or messing with the shape. Then I choose the one i like the beast and focus one that one until I finish it. Finally I save it to my file.

While making these spheres I noticed a few differences between Ps and Ai.  Ps uses a bit map program, gradient overlap, and is a better use for photos. Ai uses fill and stroke, net layers, and to replaces gradients. In the Ps tutorial I learned how to use the gaussian blur to make it look like light is coming in. In the Ai tutorial I learned how to create a flame and use the blend tool. Both of these helped my understanding of each program a lot but I would like to learn more about creating a glow in Ps and softening a glow in Ai.


http://design.tutsplus.com/articles/how-to-create-an-ultra-glossy-flaming-ball-in-adobe-illustrator--vector-6024

Wednesday, October 22, 2014

Sphere


The top one is Illustrator and the one below it is Photoshop. I found that I like Photoshop better and easier than Illustrator. The shadow on the ball is a lot darker on the Illustrator ball and the shadow of the ball is outlined a bit more in Photoshop. The highlights are about the same, but the values are softer in Photoshop and darker in Illustrator. 


Tuesday, October 7, 2014

Logo Design


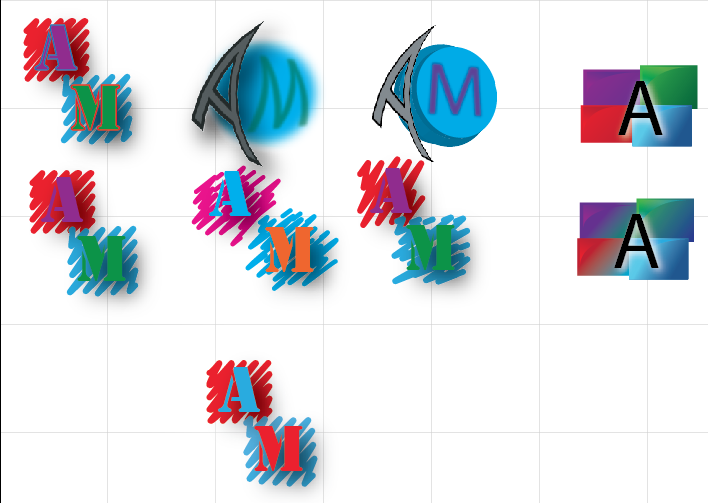
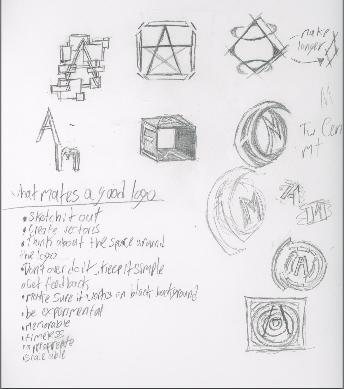
For my logo I used the shape of a square to represent progress. I used squiggles to represent my childish and artful side. The font I used is Stencil and I chose it because i thought it looked best on the square. I decided to used red and blue contrast colors because I like that contrast. Also blue used to be my favorite color, now my favorite color is red. During this project I learned how to make a drop shadow and squiggles in Illustrator. I also learned how to make 3D shapes, give an object perspective and curve an object, all done in Illustrator. I started making my logo by sketching some ideas that came to my head in my sketchbook and making the ones I liked in Illustrator. Once I did that I made an art board, testing out different variations of them. Then I picked the one I liked and thought would be the best. I think I did best on making the letters look like they'er floating by add in a drop shadow. But I if I could I would go back and apply at least one font effect to the text. I it would make it pop out more and bring a little more attention to the letters. But I need to work on experimenting because i really didn't do a lot of it when i needed to. 

Sunday, October 5, 2014

Name


In this tutorial I learned how to put more than one fill on an object. I think I did really well following the instructions and understanding them. I would try putting more fills and experimenting with them if I were to do it again. I would want to learn more about how to make different and awesome  looking gradients.

Wednesday, October 1, 2014

Mickey


In this scene Mickey is walking through a mirror which in our world would be impossible because mirrors are solid. It's possible because when you look in a mirror it seems like you can walk through it. It looks to be real because they give the mirror a plastic feel to it making it probable for Mickey to walk through it.

Here we see Mickey has gotten very large from sting a walnut. In the real world this is impossible because we don't instantly grow to the hight of a room by eating a walnut. Its possible because he ate a magical walnut. It seems possible because even though it's impossible to grow that quickly Mickey does because of the walnut he ate.

 Then Mickey shrunken after being really big. This is impossible in our world because you can't just instantly shrink. It's possible because we see him shrinking. It looks real because even though it's impossible to shrink Mickey does because of a magical walnut.

In this scene we see Mickey fighting against a king if hearts card. This is impossible because cards are inanimate objects. It's possible because the card has human on it so it would move like a human. It seems possible because even though it's an in animate object it looks human so it has human movements.


Finally we have Mickey using a fountain pen as a squirt gun. This is impossible because a fountain pen doesn't have that kind of squirting power. It's possible because a fountain pen can squirt a little ink. It looks real because even though a fountain pen doesn't squirt a lot of ink in the animation world it's exaggerated.

Wednesday, September 24, 2014

Google


Google was called Back Rub but they changed it to make people think that their company could handle a lot of data that other search engines couldn't. So far their is no internet information on the origin or creator of the original google logo. It was updated in 1998 and the colors were switched and an exclamation point was added around in 1999.

Then they hired Ruth Kedar to modify the brand logo.  Her first try she did'nt want to mess to much with the text. So she added a pattern between the two o's, with the colors used in the previous logo, to symbolize an infinite connection.
She then focused on one of the o's using an infinite pattern and adding a target. This was to show that the Google search engine was very precise an complicated but simple to use. 
In the next version their was a shift in the typeface and layout. The circles overlap and join with a target to show the globally targeted nature of the business. But she though it looked to much like the olympics logo. 
After that they tried adding a magnifying glass as one of the o's and a target in the other. They also changed the font to ITC Leawood. They added the Google colors as well. In another version of it they got ride of the target and put a smile in the magnifying glass.
In the last reiterations of the logo they switched up the colors and tried tilting one if the o's. They also added a touch of dimension and shading.